






Online Resize the Photo

Upload a photo, set exact pixel dimensions, lock the aspect ratio to prevent distortion, and send a resize brief to Ottermind Studio. Compare the result before you export.

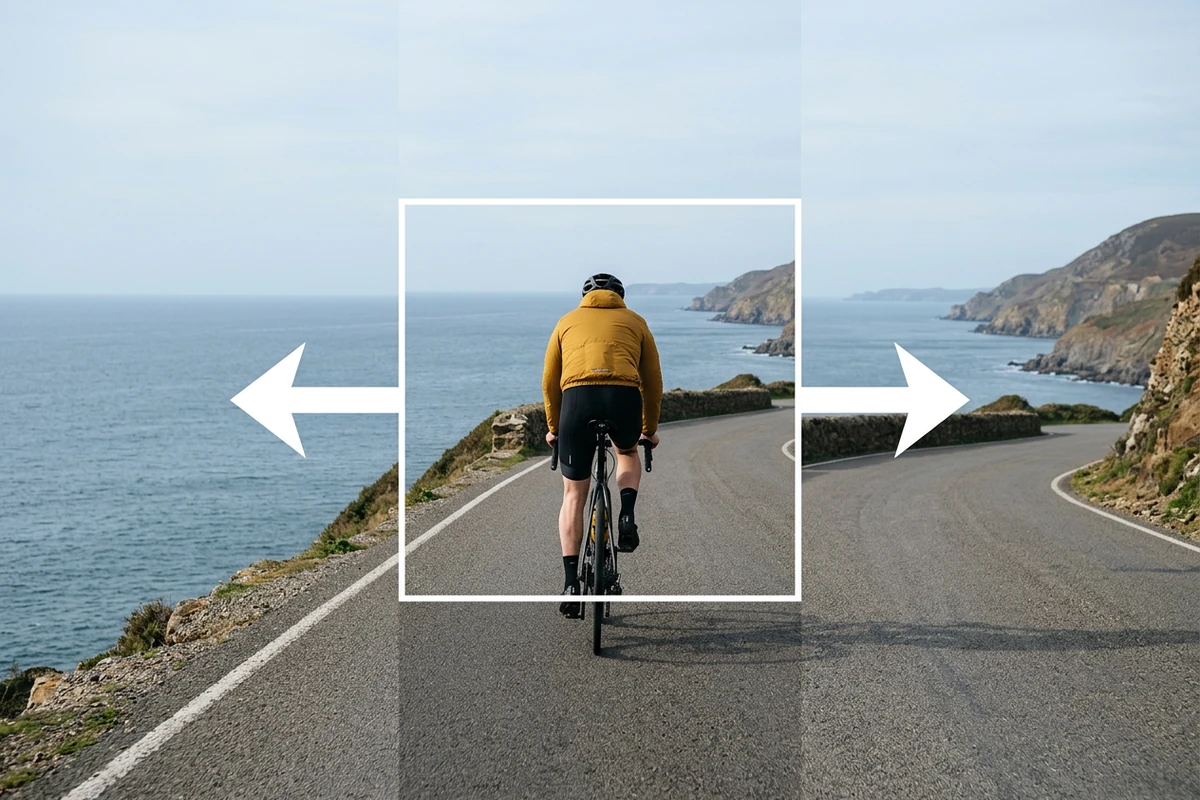
Cyclist in a yellow jacket inside a white original crop frame, with arrows pointing into the expanded coastal road and sea.
Claude
GitHub
Google
Linear
Microsoft
Monday
Netlify
Notion
OpenAI
Sentry
Slack
Stripe
Supabase
Claude
GitHub
Google
Linear
Microsoft
Monday
Netlify
Notion
OpenAI
Sentry
Slack
Stripe
Supabase

Resize for a Real Destination, Not a Preset Label

Most online photo resizers give you a few preset crops or let you stretch an image into any shape. The problem is distortion: pulling a landscape photo into a square often squashes faces and ruins composition. A proper AI Image Resizer tool starts with the exact pixel dimensions you need and preserves the aspect ratio so the output matches your layout. Use Ottermind to name the destination — web, email attachment, social post, or print — and specify the dimensions before you send the brief to Studio. After resizing, if the output needs clarity improvement, continue with the HD Photo Converter as a separate step.

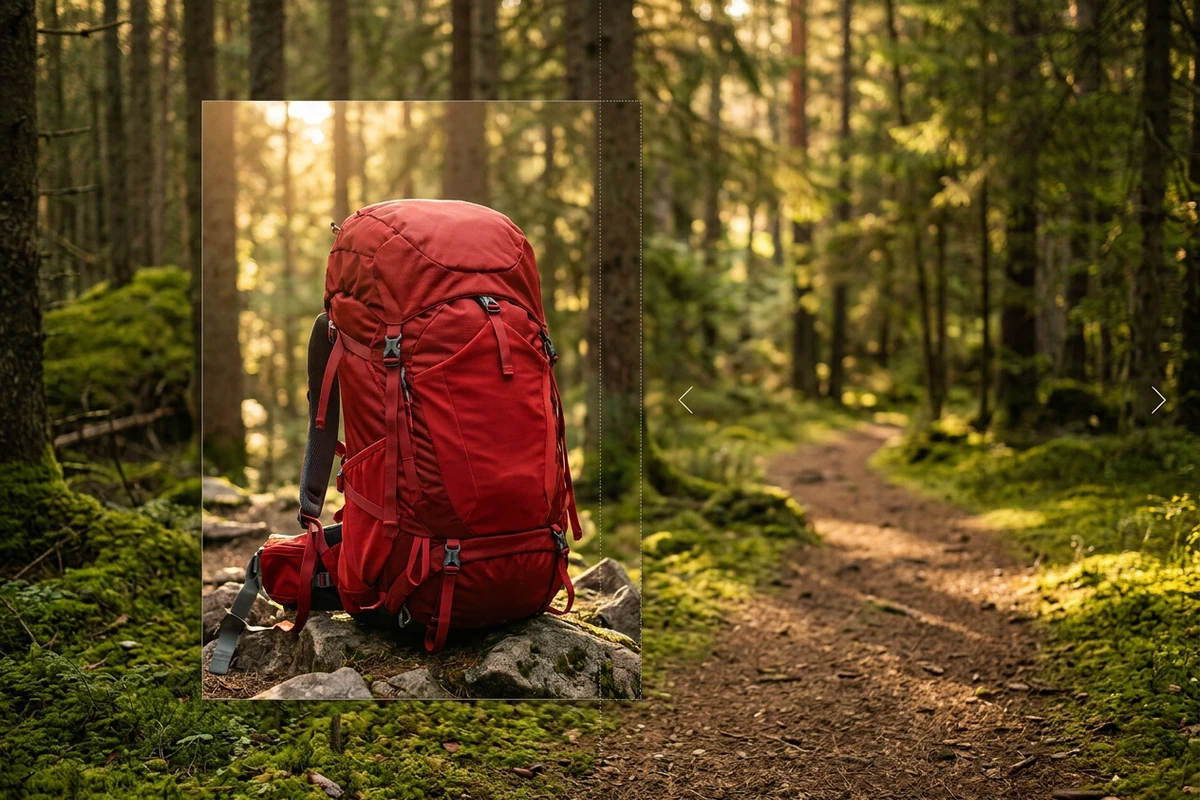
Red hiking backpack framed by an expanded forest trail with outward arrows at the generated edges.

Set Exact Dimensions Before You Resize

Generic presets are a shortcut that often introduces distortion. Specify the target width and height in pixels, lock the aspect ratio, and the brief tells Studio exactly what to produce. For print, use the target DPI and physical dimensions first — a 300 DPI A4 print is not the same pixel count as a 72 DPI web banner. Check the output at the intended display or print size before exporting.
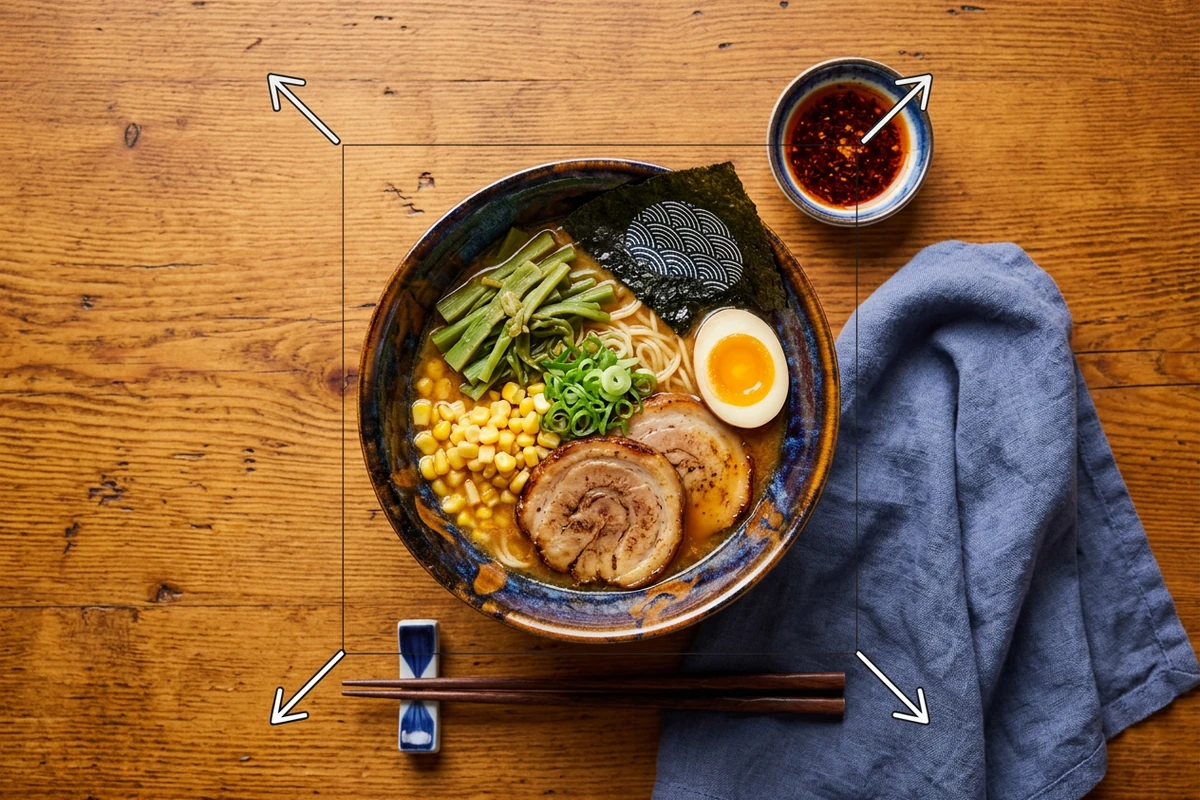
Overhead ramen bowl on a wooden table with visible arrows showing the canvas extended around it.

Preserve Quality Through the Resize

A blind resize to smaller dimensions can introduce visible aliasing or soft edges, especially in images with fine text, thin lines, or high-frequency patterns. After the brief is executed, compare the source and output at the same zoom level. If edges look fuzzy on a detail area, request a targeted revision. For images that genuinely need quality enhancement beyond resizing, use the HD Photo Converter as a separate step.

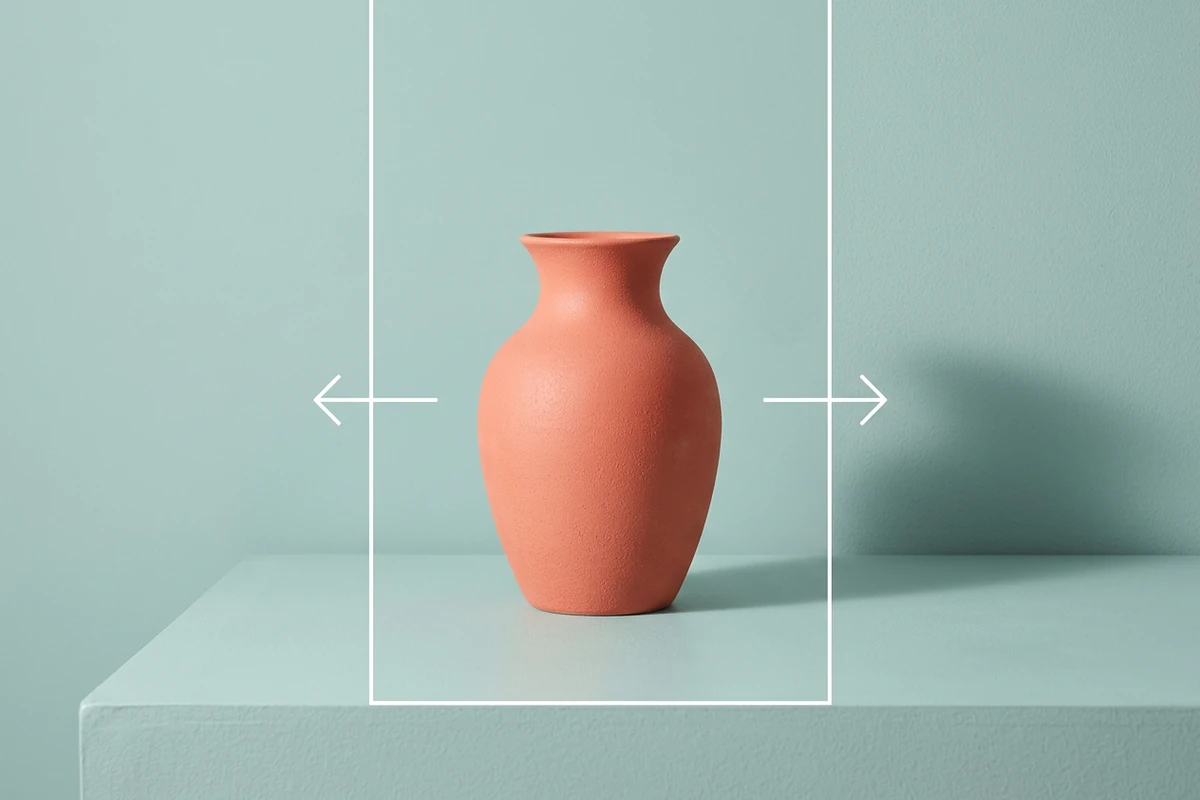
Coral vase centered inside a wider teal studio canvas with arrows marking the added space.

Browser-Based, No Upload Required

When you resize a photo online, the file route matters. Sending photos to a third-party server adds a privacy step that many users do not consider. Ottermind processes the resize brief and delivers the result you can review before committing. Keep the source photo local and only share the brief with Studio.

What you can do with Ottermind

Size photos for social media

Set exact dimensions for Instagram (1080 × 1350), Twitter (1600 × 900), LinkedIn banner (1584 × 396), or YouTube thumbnail (1280 × 720) without distorting faces or text. After resizing, use Image Effects to add filters or styles.

Optimize images for faster web pages

Specify width and height for a blog header or product thumbnail. Compress to a target pixel count that keeps the page fast without losing the look your design intended.

Fit photos under email attachment limits

Set dimensions for an email attachment that stays within Gmail's 25 MB limit. Resize before compressing so the quality drop from compression is less noticeable.

Prepare a photo for print

Specify exact pixel dimensions for a print target — for example 2550 × 3300 px at 300 DPI for A4 — and inspect the result at the intended print size before sending to production. If the output needs clarity enhancement for large prints, continue with the HD Photo Converter.

How to Resize a Photo Online with Precision

Step 01

Upload and Set Dimensions

Upload the photo you want to resize. State the exact width and height in pixels, enable the aspect ratio lock, and note the output format and quality if they matter for the destination.

Step 02

Send the Brief to Studio

Send the photo and dimension brief to Studio. Studio executes the resize with the specified parameters. The output is delivered as a preview you can inspect before you export it.

Step 03

Review at Output Size

View the resized result at 100% zoom or at the intended display size. Check edges, text, patterns, and overall sharpness. Request a revision for any detail that looks distorted or softened by the resize.

Why creators choose Ottermind

Context Carries Forward

Your preferred output formats, common print and web dimensions, and review notes stay organized around the same project for future resizes.

Precise Dimension Briefs

Describe exact width and height in pixels, the aspect ratio constraint, and the intended destination instead of asking vaguely for a smaller image.

Focused Revision After Resize

Lock the accepted dimensions before you change format, add styling, or export. This makes unintended edits easier to spot and reverse.

Honest Quality Boundaries

Enlarging beyond the source dimensions adds estimated pixels. A responsible brief labels when upscaling will introduce visible softness rather than hiding it.

Visible Studio Review

Inspect the result at the intended output size and approve it before export. Reject quality changes that do not match the dimension brief.

Frequently asked questions

What Does It Mean to Resize a Photo Online?

Resizing a photo online means changing its pixel dimensions — width and height — directly in your browser without installing software. You upload the file, set the target size, and download the result. In Ottermind, the resize brief is sent to Studio, which executes the resize and delivers a preview you can inspect before exporting.

How Is Resizing Different from Compressing a Photo?

Resizing changes the pixel dimensions; compression reduces file size without changing dimensions. You can resize an image from 4000 × 3000 px to 1200 × 900 px (fewer pixels) and separately compress the file to a smaller byte size. Many online tools blend these two operations, which can cause quality loss that is hard to diagnose.

What Is Aspect Ratio and Why Does It Matter?

Aspect ratio is the proportional relationship between an image's width and height. A landscape photo at 3:2 (such as 1500 × 1000 px) keeps that ratio when resized: 1200 × 800 px is still 3:2. Locking the aspect ratio prevents the tool from stretching or squashing the image into a different shape. Most layout mismatches — squashed faces, stretched text — come from ignoring the aspect ratio.

Does Resizing an Image Reduce Its Quality?

Reducing dimensions from a large source to a smaller output typically preserves or improves quality. Enlarging beyond the original dimensions requires the tool to estimate missing pixels, which can introduce blur or artifacts. Ottermind's brief lets you specify whether upscaling is intentional or a mistake. For quality issues beyond resizing, use Fix Blurry Pictures or the HD Photo Converter as separate steps.

What File Formats Does This Support?

Ottermind's resize workflow accepts JPG, PNG, and WebP input. The output defaults to JPG unless PNG is needed for transparency or WebP is specified for web optimization. The brief can name the output format explicitly.

What Can I Do with the Resized Photo After?

Keep the approved photo, the dimension brief, and review notes together in the project. Export in the format needed for the destination. If the image needs quality improvement before print or a larger display, continue with the HD Photo Converter as a separate step. For style changes, use Image Effects.

Discover more

More from the blog

Resize the Photo to the Exact Dimensions You Need

Upload your photo, set the target width and height in pixels, lock the aspect ratio, and send the resize brief to Studio. Compare the result at the intended display size before you export.

Resize in Studio