






HD Photo Converter

Upload a low-resolution photo, describe the output you need, and send an HD conversion brief to Ottermind Studio for a result you can review.

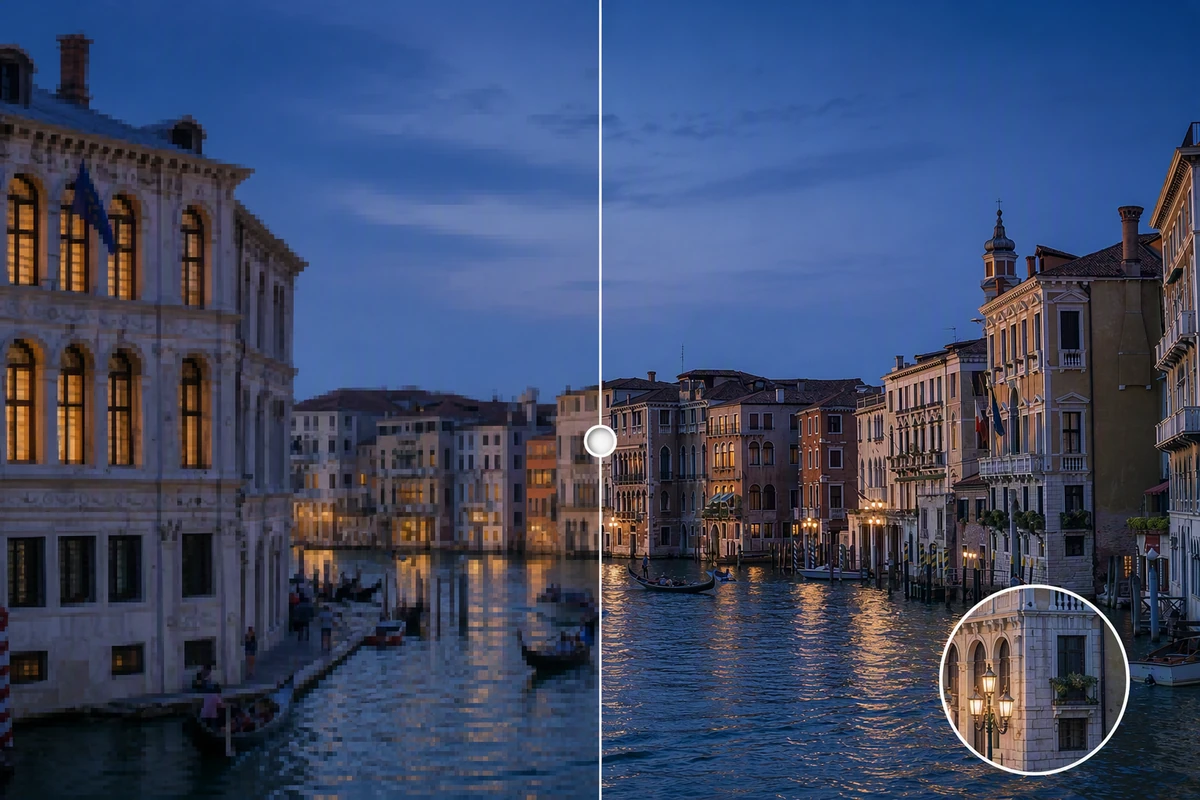
Before-and-after HD enhancement of a Venice canal at night with a pixelated left half and crisp right half.
Claude
GitHub
Google
Linear
Microsoft
Monday
Netlify
Notion
OpenAI
Sentry
Slack
Stripe
Supabase
Claude
GitHub
Google
Linear
Microsoft
Monday
Netlify
Notion
OpenAI
Sentry
Slack
Stripe
Supabase

Convert for a Real Output, Not an HD Label

An HD Photo Converter should improve useful pixel dimensions and clarity for a specific destination. Start with the best source, name the final display or print size, and list details that must not change. If softness is the main problem, use Fix Blurry Pictures as a separate repair step.

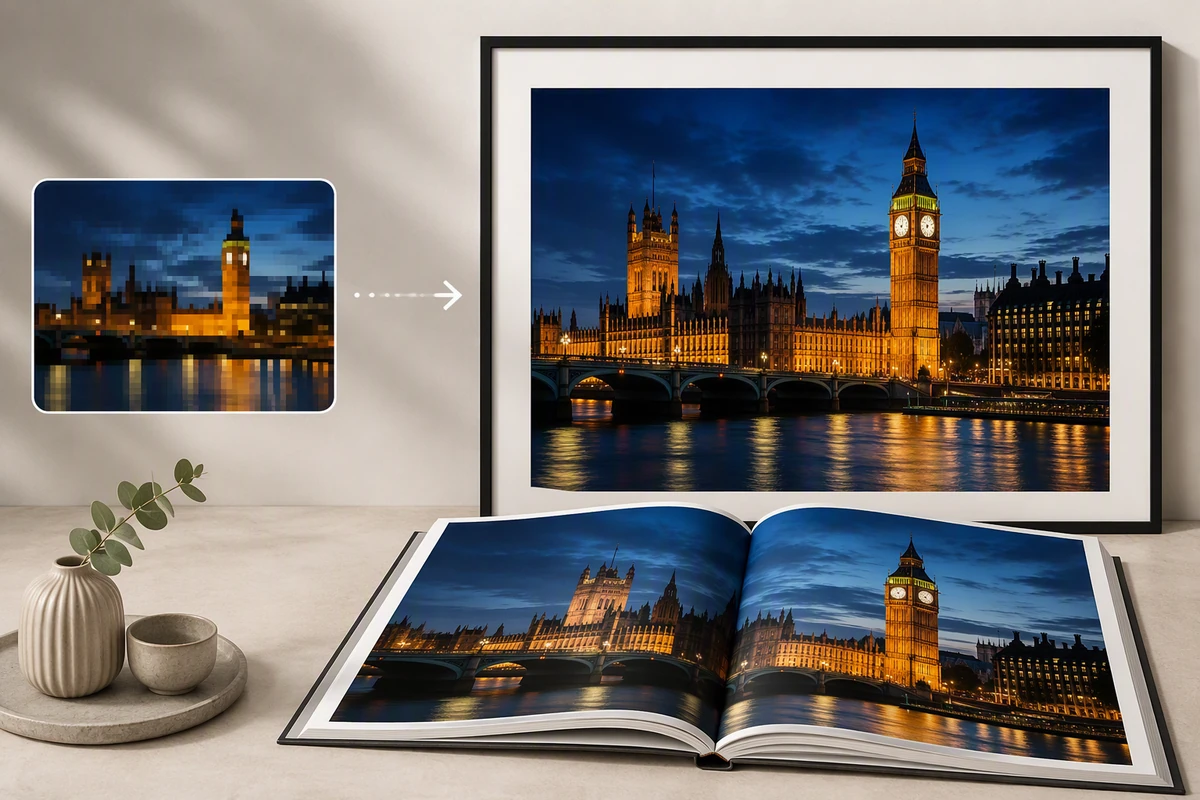
A pixelated London night photo transformed into a sharp framed wall print and photo-book spread.

Plan Pixels Before You Print

A high-resolution photo is only print-ready in relation to its intended dimensions. Record the target width and height, run the photo to HD workflow, then inspect fine textures at print size. Use a Free Online Photo Collage Maker to check a multi-image layout before production.
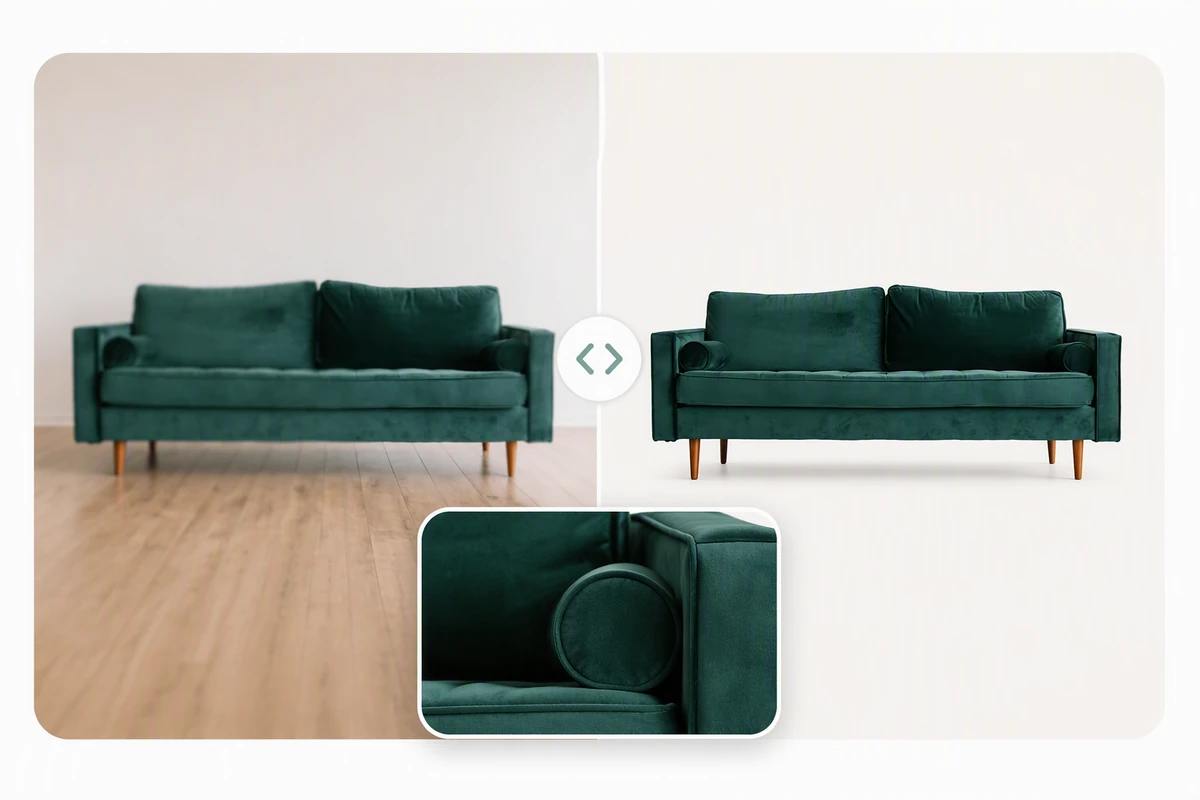
The same dark green lounge chair shown as a low-resolution room photo and a crisp product image with fabric detail.

Protect Product Edges and Labels

For e-commerce, ask the HD image converter to preserve product shape, texture, color, and readable labels. Compare thin edges, reflections, patterns, and small lettering. Correct color separately with Image saturation rather than treating sharper pixels as a color fix.

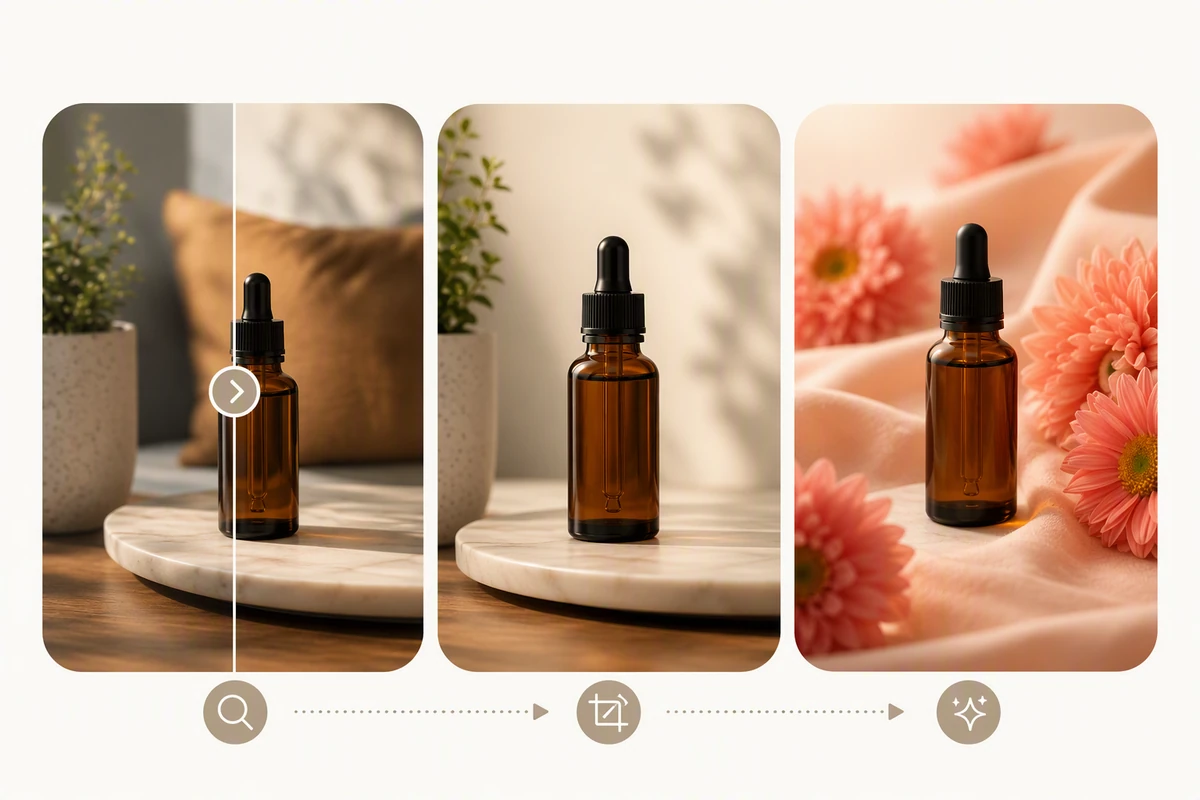
The same amber skincare bottle shown through clarity review, refined cropping, and a polished floral background.

Refine Only After the Clarity Check

Lock the accepted HD photo conversion before changing crop, background, or styling. This makes invented texture or altered objects easier to spot. Continue with Image Effects for deliberate styling, or Photo Retouching for restrained local cleanup.

How to Convert a Photo to HD Carefully

Step 01

Choose the Best Source

Upload the least-compressed original available. Note its current pixel dimensions, the final use, and whether blur, noise, compression, or simple enlargement is the main issue.

Step 02

Define the HD Brief

State the target pixel dimensions and details to preserve, including faces, lettering, logos, product edges, colors, and repeated patterns. Send the image and brief to Studio.

Step 03

Compare at Output Size

View source and result at normal size and at the intended crop. Reject halos, waxy faces, changed text, invented texture, broken edges, or details that shift identity.

Why creators choose Ottermind

Context Stays Together

Keep the source, target dimensions, protected details, and review notes organized around the same project.

Specific Conversion Briefs

Describe the actual output and preservation rules instead of asking vaguely for more quality.

Focused Revisions

Ask agents to revisit one questionable area while retaining the accepted composition and earlier decisions.

Honest Detail Boundaries

Treat reconstructed detail as an interpretation when the low-resolution source no longer contains reliable information.

Connected Creative Work

Carry an approved high-resolution photo into AI image generation as a clearly separate creative task.

Visible Review

Inspect agent work and approve critical connected-tool actions before the HD result moves forward.

FAQ

What Does an HD Photo Converter Actually Change?

It produces more pixels and may create a clearer-looking interpretation of edges and texture. More pixels do not prove missing detail was recovered. Compare the source and output carefully around faces, text, logos, and historically important details.

Is 1920 x 1080 Always the Right HD Size?

No. That is one common display resolution, but the useful target depends on orientation, crop, screen placement, or print size. Define the destination first, then request matching pixel dimensions instead of stretching every image into a 16:9 frame.

Can HD Conversion Restore Every Missing Detail?

No. After a tiny crop, heavy compression, blur, darkness, or damage removes information, AI can only infer plausible detail. Keep the original, label consequential edits when appropriate, and never treat generated facial or documentary detail as verified fact.

How Do I Check a Product Photo after Conversion?

Compare the silhouette, seams, texture, reflections, patterns, label spelling, and brand colors against the source. Review at normal size and close up. If the HD image converter changes an identifying mark, revise it instead of accepting overall sharpness as proof of accuracy.

Should I Sharpen, Upscale, or Retouch First?

Diagnose the source before combining tasks. Use HD photo conversion for dimensions and clarity, handle blur separately, and leave cosmetic cleanup or styling until the clarity result is accepted. This sequence makes unwanted changes easier to locate and reverse.

What Can I Do with the Approved HD Photo?

Keep the source, brief, accepted result, and review notes together for print, presentation, web, or catalog work. If motion comes next, continue with Image to Video separately and preserve the approved subject and composition.

Discover more

What they say about Ottermind

I uploaded my lecture notes before an exam and asked for a simple study guide. It pulled the main ideas together and gave me a much clearer place to start reviewing.

Jamie Lee - University Student

More from the blog

Start an HD Conversion You Can Verify

Upload the strongest source, name the final size and protected details, then send the HD Photo Converter brief to Studio and compare the result carefully.

Convert in Studio