Watermark Remover
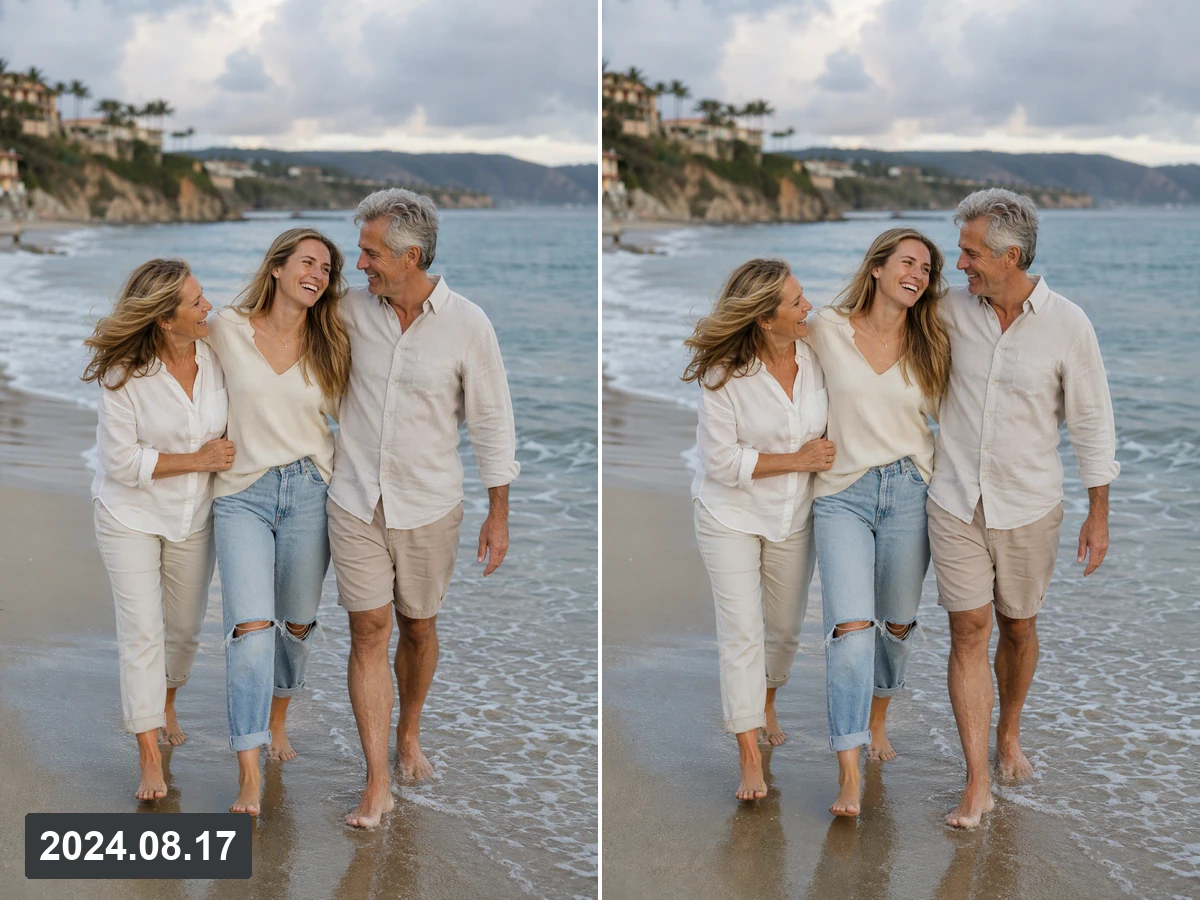
Upload an image you can edit, describe the visible mark, and compare a cleaned interpretation before choosing what to keep.


Drag an image here or click to upload












Explore image transformation styles
Explore a range of image transformations and find the look that fits your idea.





Remove Visible Marks without Losing the Review Trail
A watermark remover can rebuild pixels hidden by a visible logo, date, proof label, or text overlay, but the result is an interpretation rather than recovered original data. Start with an image you own or have permission to edit, keep the source beside every result, and inspect boundaries where the mark crosses faces, lettering, patterns, or product edges. For broader creative changes after cleanup, plan them separately with Image Effects.
Review Rebuilt Texture after Watermark Removal
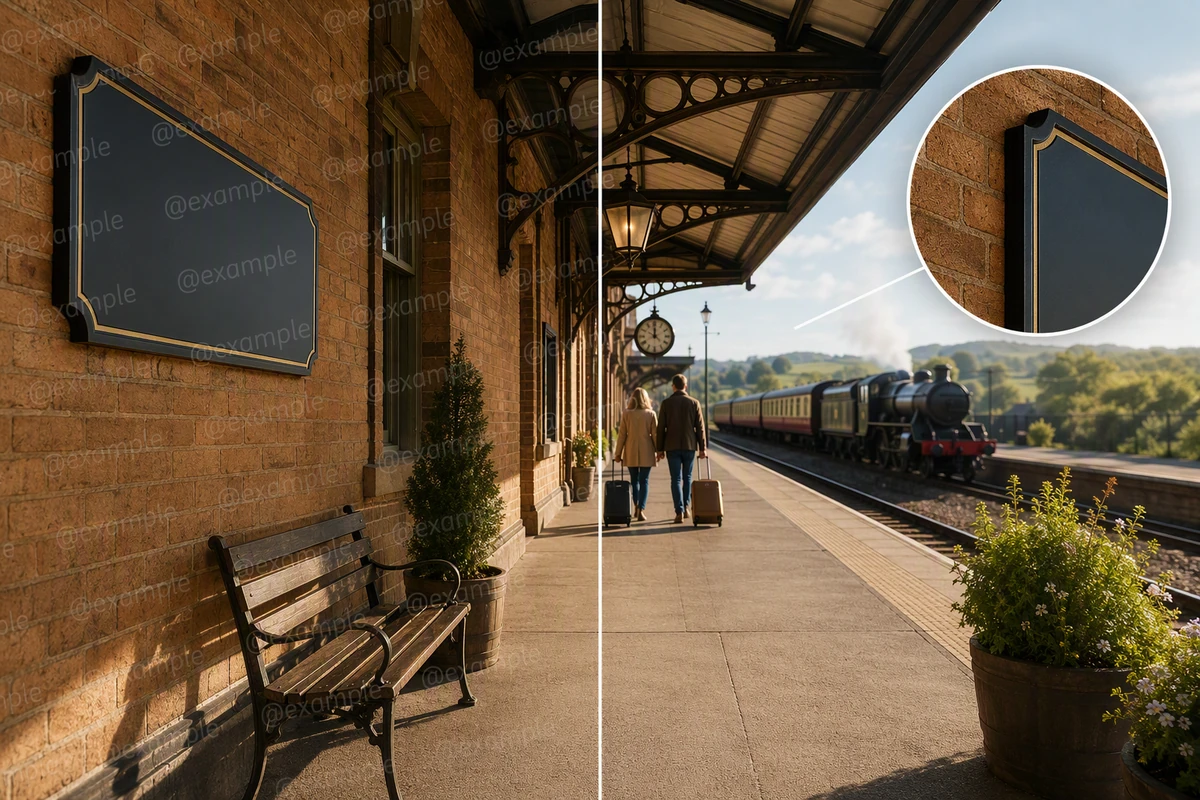
A convincing watermark removal keeps brick lines, sign edges, shadows, and repeated texture coherent. Compare at normal size, then zoom into each boundary the mark touched. If the source is also soft, use Fix Blurry Pictures as a separate clarity workflow instead of asking one edit to solve both problems.

Apply One Review Standard across a Collection
For several approved photos, record the watermark type, protected details, acceptable reconstruction, and stopping point before editing. Review each image individually because faces, type, fabric, and reflective products fail differently. Arrange accepted results with the Free Online Photo Collage Maker only after every source-to-result comparison passes the same checklist.

Separate Cleanup from the Next Creative Edit
Approve the cleaned source before changing its background, crop, color, or campaign layout. Separate decisions make accidental drift easier to identify and preserve a reliable comparison point. When the project needs a new composition, carry the approved reference into AI image generation and describe that result as a creative interpretation.
What you can do with Ottermind
Clean your own exported artwork
Remove an obsolete draft mark from a file you own while checking that texture and detail remain coherent.
Restore an authorized archive image
Clear an old institutional overlay when you have permission, preserving the underlying document or photograph carefully.
Prepare licensed stock for a layout
Remove the preview watermark only after obtaining the proper license, then verify the result against the licensed source.
Recover a clean campaign master
Repair an authorized source before making separate crop, color, text, or Image Effects changes.
How to Use the Watermark Remover Carefully
Step 01
Check the Source
Use an image you own or may edit, look for an unmarked original first, and note every face, word, edge, pattern, and object covered by the watermark.
Step 02
Describe the Mark
Upload the image and tell Ottermind whether the visible overlay is a date, logo, proof pattern, sticker, or handle, plus which surrounding details must remain unchanged.
Step 03
Compare and Refine
Inspect the source and cleaned interpretation side by side, flag warped texture or invented detail, and revise only the questionable region before using the result elsewhere.
Why creators choose Ottermind
Specific Cleanup Briefs
Name the visible mark and protected details instead of requesting a vague perfect cleanup.
Source Comparison
Keep the original, prompt, result, and review notes together while checking reconstructed regions.
Focused Revisions
Ask the agent to revisit one suspicious boundary without discarding an otherwise useful result.
Honest Limits
Treat covered pixels as generated interpretation when the visible watermark hides the source completely.
Connected Next Steps
Carry an approved still into Image to Video as a separate creative task.
Visible Decisions
Inspect agent output and approve critical actions before the cleaned image moves forward.
Frequently asked questions
When Is It Appropriate to Remove a Watermark?
Use a watermark remover only for an image you own, may edit, or marked yourself. Watermark removal does not create usage rights. When a licensed unmarked original exists, reacquiring it is more reliable than reconstructing covered pixels.
Can Watermark Removal Restore the Original Pixels?
Not when an opaque mark replaced them. A watermark remover can infer plausible nearby color and texture, but cannot prove what was hidden. Check faces, product geometry, documents, and other accuracy-sensitive details against an independent source before using the result.
How Do I Avoid a Blurry Patch after Removal?
Describe protected edges and texture, then inspect the repaired boundary at normal size and close up. Look for smears, repeated patterns, halos, bent lines, and altered lettering. Handle Image saturation only after approving the local repair.
Does This Workflow Remove Hidden Provenance Markers?
This watermark removal workflow addresses visible overlays. It does not claim to remove invisible provenance systems, metadata, or embedded identifiers. A clean preview does not prove those signals are absent. Keep the source and record why you may edit it.
Can I Remove Watermarks from Several Images at Once?
This page does not promise a batch control. Keep a shared brief and checklist, but inspect each output separately because marks cross different faces, textures, text, and edges. Use a collage only to compare results after individual review.
What Should I Check before Using the Cleaned Image?
Confirm permission, compare every covered region, read visible text, inspect identity and product shape, and check untouched areas. For a professional portrait, the Resume Photo Editor provides a separate review workflow for background and clothing changes after cleanup.
Discover more
AI pet portrait generatorAI Product Image GeneratorGemini Watermark RemoverImage Text EditorImage TranslatorPicture Outline MakerPhoto into WatercolorPhoto to Anime ConverterConvert Photo to Oil PaintingPhoto to SketchReplace Color in ImageAI Resume BuilderAI Receipt TrackerPC Builder AIAI Logo GeneratorAI Brochure Maker
More from the blog




Start a Careful Watermark Removal
Upload an image you may edit, describe the visible mark and protected details, then compare the cleaned interpretation with its source before continuing.
Remove My Watermark