Upload image

JPEG · PNG · WebP · 20 MB · 4096 × 4096 px

Settings
Private image
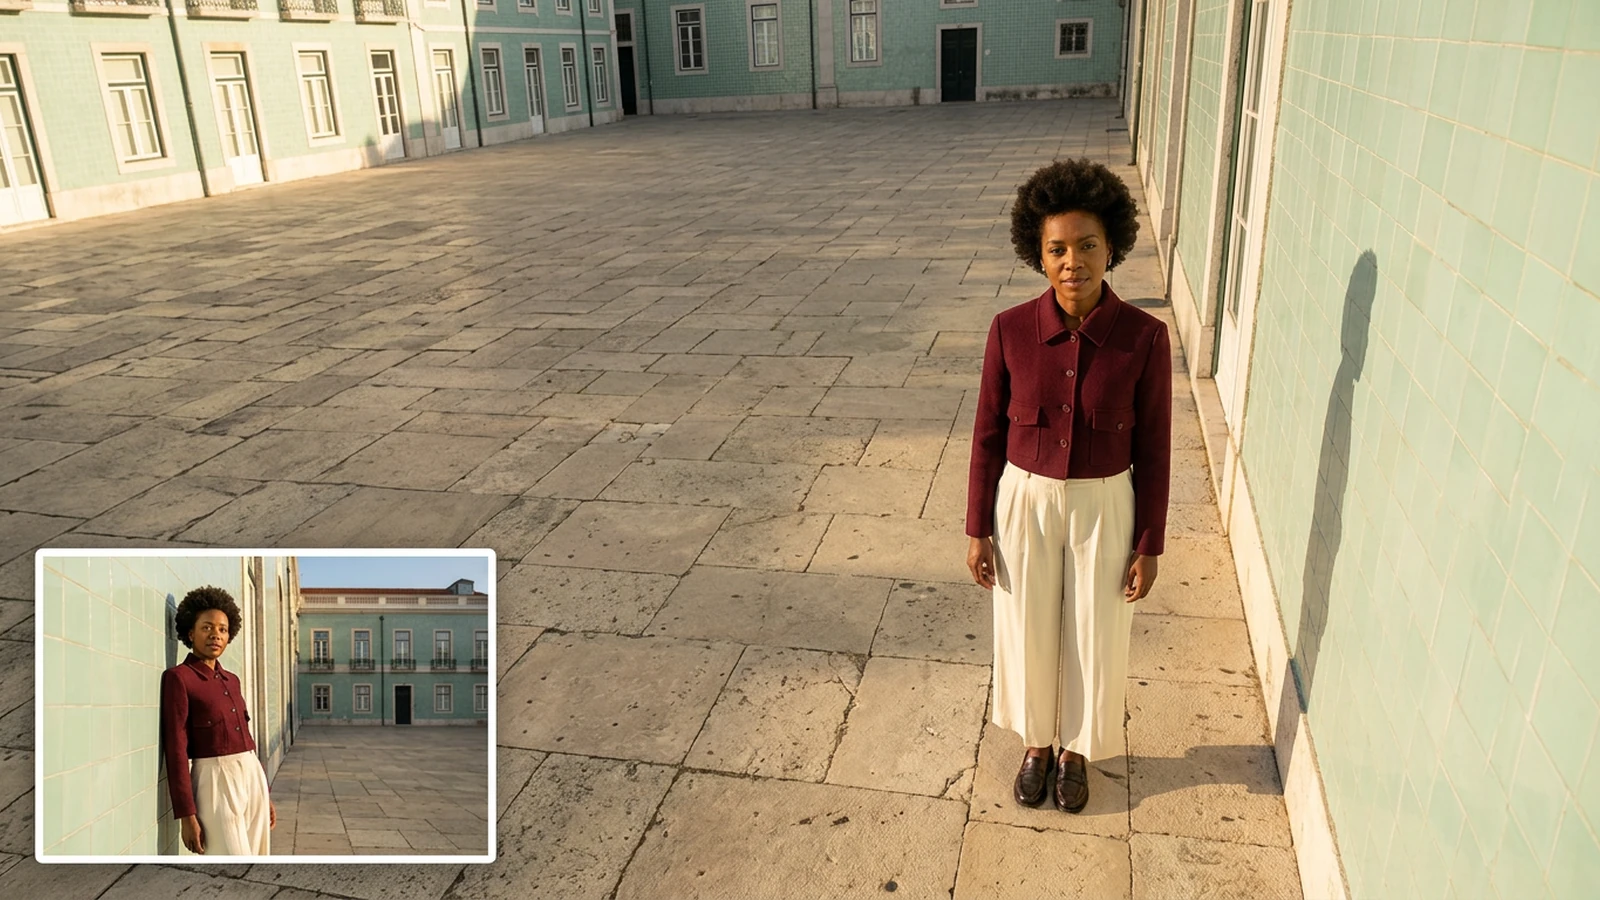
Illustrative high-angle portrait of a woman in a burgundy jacket in a mint-tiled courtyard, with an eye-level source inset.

Change the viewpoint, rethink the composition

Use AI Camera Angle Changer to explore how a photo could look from another camera position. Rotation changes the horizontal view, tilt guides the vertical angle, and camera distance changes the framing. Choose the viewpoint before using Photo Retouching to refine the selected portrait.

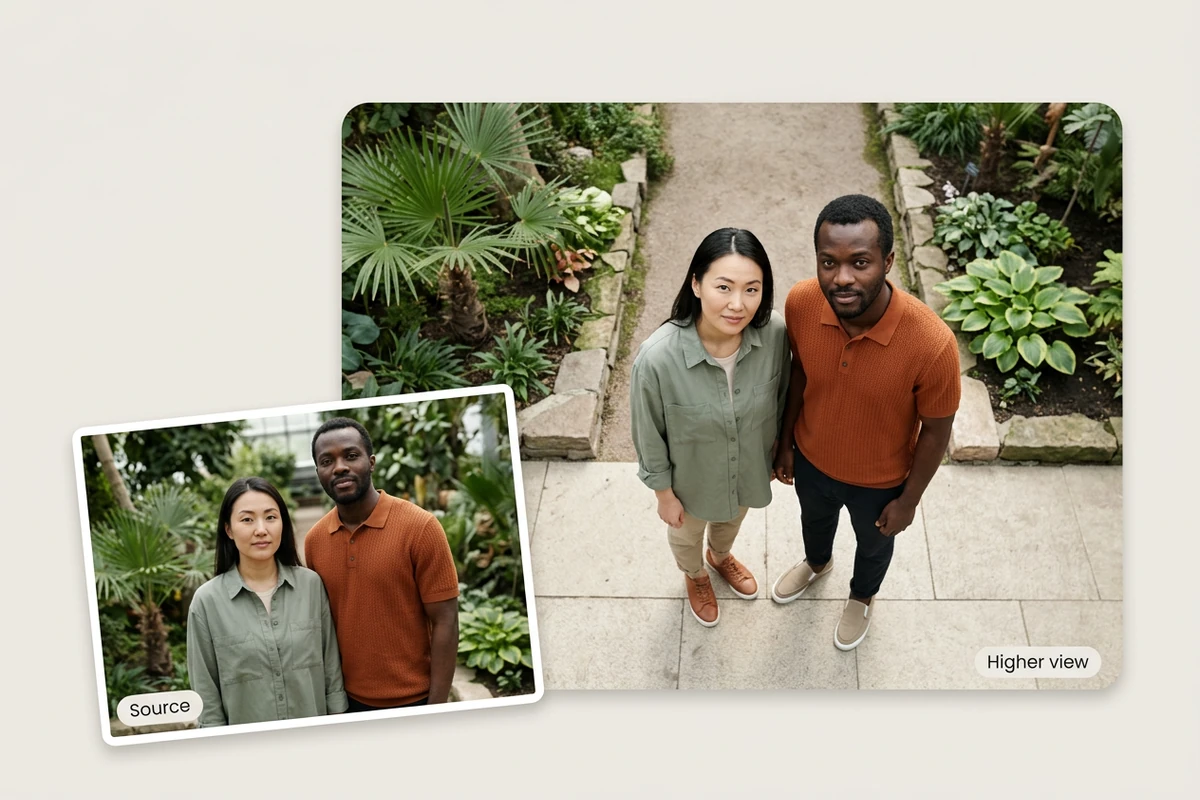
Illustrative comparison of two friends on a garden path at eye level and from a higher camera viewpoint.

Bring a group into a new view

Explore a higher viewpoint for a photo of friends while keeping everyone in the frame. Start with one modest tilt adjustment, then check each face, the spacing between people, and where their feet meet the ground. Overlapping subjects need extra attention because a new view can reveal details the source never showed.
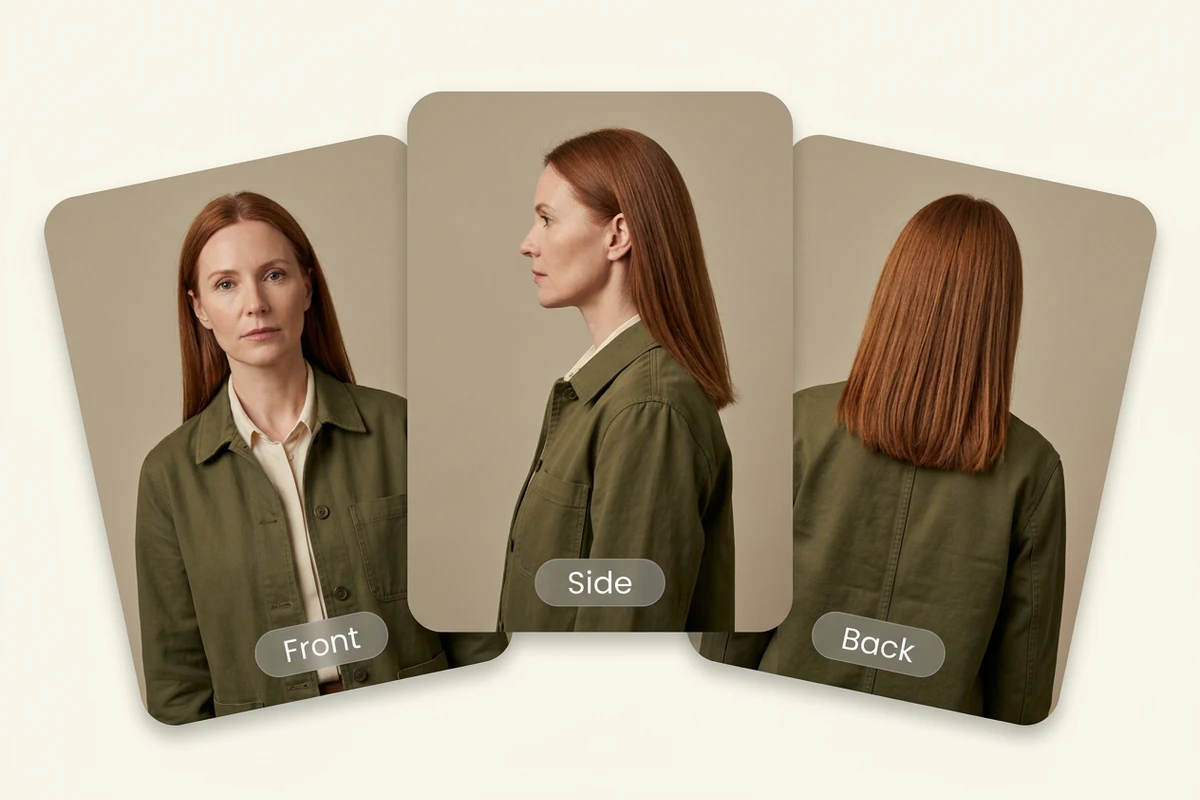
Illustrative front, side, and back views of the same auburn-haired woman in an olive jacket on three overlapping cards.

Explore the subject from different sides

Compare a front-facing portrait with side and back-view concepts by changing horizontal rotation. Check the hair, clothing seams, and silhouette across results before using them as a character reference. Unseen details are interpretations, not recovered facts. Refine a chosen image separately with Photo Retouching.

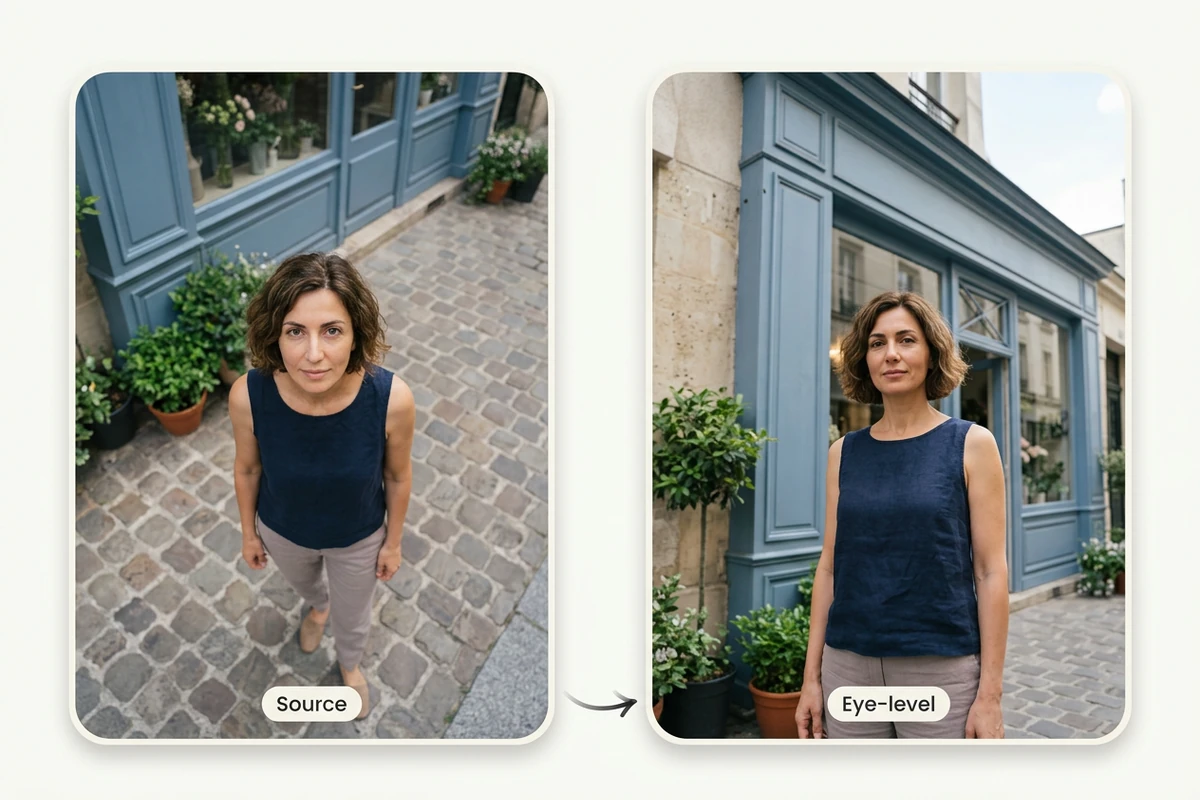
Illustrative comparison of a woman beside a blue storefront from a high viewpoint and a lower, eye-level viewpoint.

Find a more natural portrait angle

An overhead portrait can emphasize the head while shortening the body. Explore a lower viewpoint with tilt first, keeping rotation and camera distance unchanged. Once the perspective works, adjust distance for the crop. Changing one control at a time makes it easier to identify which choice improved the composition.

What you can do with Ottermind

Plan a group portrait

Try a higher view of two friends in a garden or a small team outdoors. Compare faces, relative height, and spacing before using the result to brief your next photo session.

Build a character reference

Explore side and rear concepts from an original character portrait. Review outfit details across the set, then use a selected view as a starting frame for Image to Video.

Explore a product presentation

Start with a clear photo of a bag, bottle, or handmade object and compare a three-quarter viewpoint. Verify any newly visible surfaces against the real product before using the image in a listing.

Reframe an editorial portrait

Use a street-style or travel photo to compare an overhead composition with a lower view. Choose the framing that gives the face, outfit, and surrounding architecture the balance your story needs.

How to change a photo’s camera angle

Start with your original image and refine one camera setting at a time.

1

Choose a detailed source with the subject fully visible. Leave enough background to judge depth and framing, and keep the original for comparison.

2

Adjust horizontal rotation, tilt, and camera distance in the workbench. Start with a small change to one control, choose an output format, and generate.

3

Compare faces, clothing, product edges, and background geometry with the source. Reduce the angle if important details drift, then download the result when available.

Change your angle

Why creators choose Ottermind

Guide the viewpoint with concrete camera settings and keep each comparison focused on the image you want to make.

Horizontal rotation

Explore another side of the subject with a dedicated control for the horizontal camera position.

Vertical viewpoint

Use tilt to compare a lower viewpoint with an elevated one, without changing every setting together.

Camera distance

Refine how much of the subject and surroundings fills the frame after settling on an angle.

A clear starting point

Begin at rotation 0, tilt 0, and distance 5, then change one setting for each comparison.

Separate finishing steps

Choose your viewpoint first, then use AI Image Upscaler if the selected image needs enlargement.

Output format choice

Select PNG, JPEG, or WebP in the workbench to fit the next step in your image workflow.

Frequently asked questions

How is this different from rotating or warping an image?

An image angle changer explores a new viewpoint of the scene. A 2D rotation turns the existing picture, while a perspective warp stretches its visible pixels. Choose viewpoint generation when you want another side of a subject, rather than simply straightening the frame.

Can AI accurately show the back of a subject?

A generated back view is an interpretation of details missing from the source. It can help explore a character or clothing concept, but cannot verify an unseen pattern, label, or construction detail. Use another photograph when those details must match reality.

Will everyone in a group photo stay recognizable?

Exact preservation is not guaranteed. A changed viewpoint can affect individual faces, hands, clothing, or how people overlap. Begin with a modest angle change and inspect each person separately. A clear source with visible faces gives you a better basis for judging the result.

Do I need to write a prompt to change perspective?

No. This workbench uses rotation, tilt, and camera distance controls. To change the perspective of an image, choose a small adjustment and generate a comparison. Keep the other settings fixed until you understand the effect of that adjustment.

Should I change the angle or expand the frame?

Change the angle when the camera viewpoint needs to move. If the existing viewpoint is right but the subject is cropped too tightly, use AI Image Uncropper to explore extending the image boundaries instead. These are separate editing decisions.

Is generating and downloading a new angle free?

Check the account and credit requirements shown in the workbench for your current edit. Generation may require signing in and available credits, while download access can depend on your plan. The page does not promise unlimited free angle changes or downloads.

Discover more

More from the blog

See your photo from a fresh angle

Start with a clear source, choose one camera adjustment, and compare the new viewpoint. Keep the version that fits your subject and composition.

Change your angle