Upload image

JPEG · PNG · WebP · 20 MB · 4096 × 4096 px

Settings
Scale
Private image
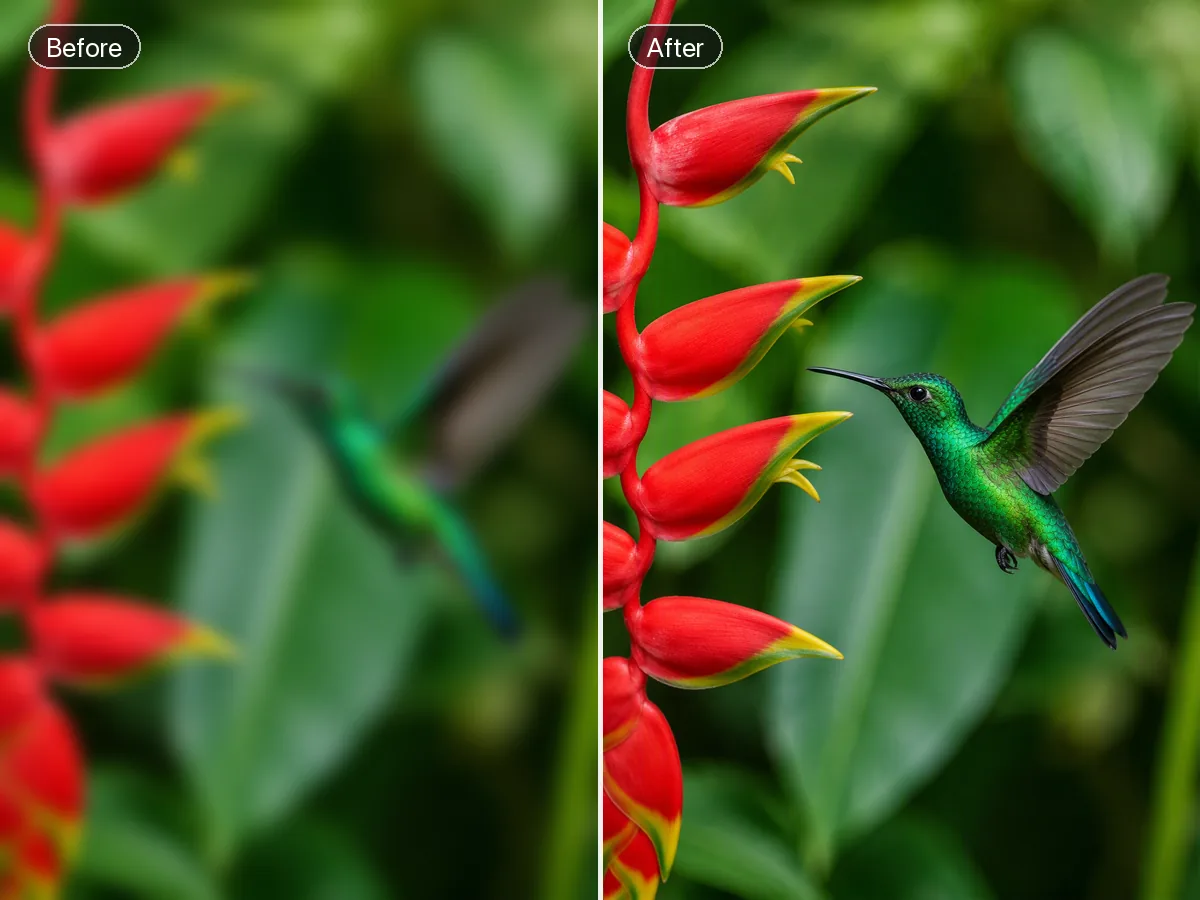
Sample photo: Improve image detail and clarity with adjustable enhancement and faithful reconstruction.
Sample photo

Improve image detail and clarity with adjustable enhancement and faithful reconstruction.

Improve the Photo You Already Want to Keep

An image enhancer helps a photo look more balanced and easier to read: a subject can stand out more clearly without every surface needing a stronger treatment. Start by deciding what feels wrong—soft texture, distracting grain or unflattering light. If size is the actual problem, choose AI Image Upscaler. The images below are editing illustrations, not results generated by this tool.

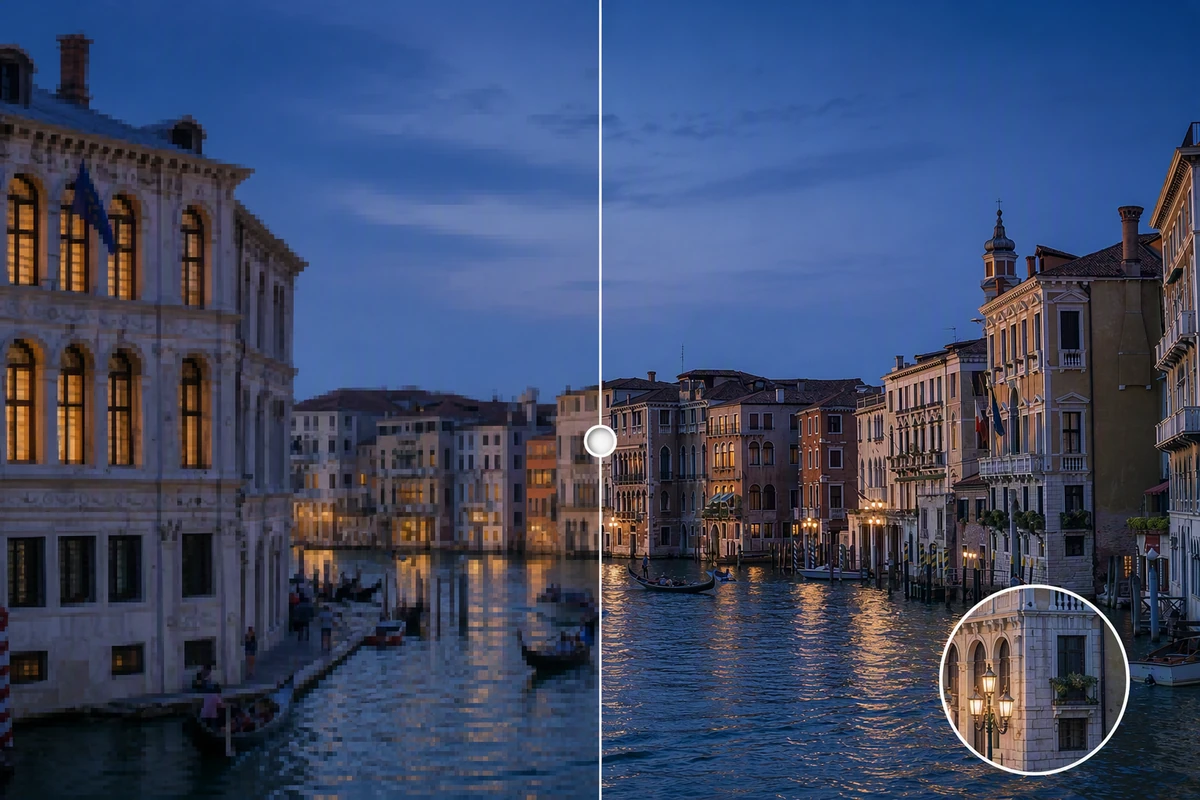
Illustrative Venice canal at dusk, split between coarse and clearer detail, with warm windows and dark blue water.

Keep the Atmosphere in Evening Photos

A night scene should still feel like night. Use a first enhancement pass to assess building edges, water reflections and the smooth sky together. In the canal illustration, clarity is only one part of the picture. If bright outlines or harsh texture distract from the scene, try a lower Strength setting on the original.

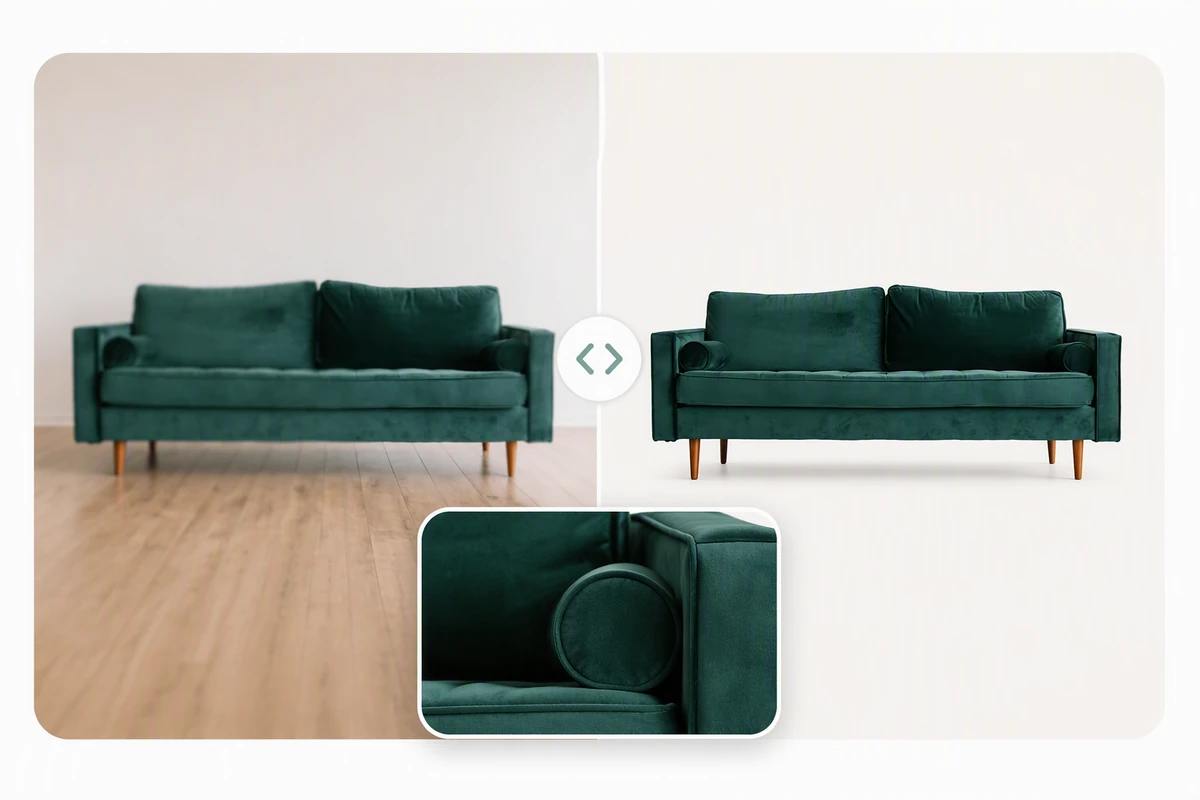
Illustrative green sofa comparison in a room and on a white background, with a close-up of fabric and piping.

Turn Down an Overprocessed Look

The strongest setting is not a target. Begin at the default Strength of 0.5, then move down in small increments if upholstery looks scratchy or smooth cushions become unnaturally etched. Regenerate from the original for a fresh attempt. This sofa illustration helps distinguish broad surfaces from fine texture; its changed backdrop represents separate styling, not the enhancer's effect.

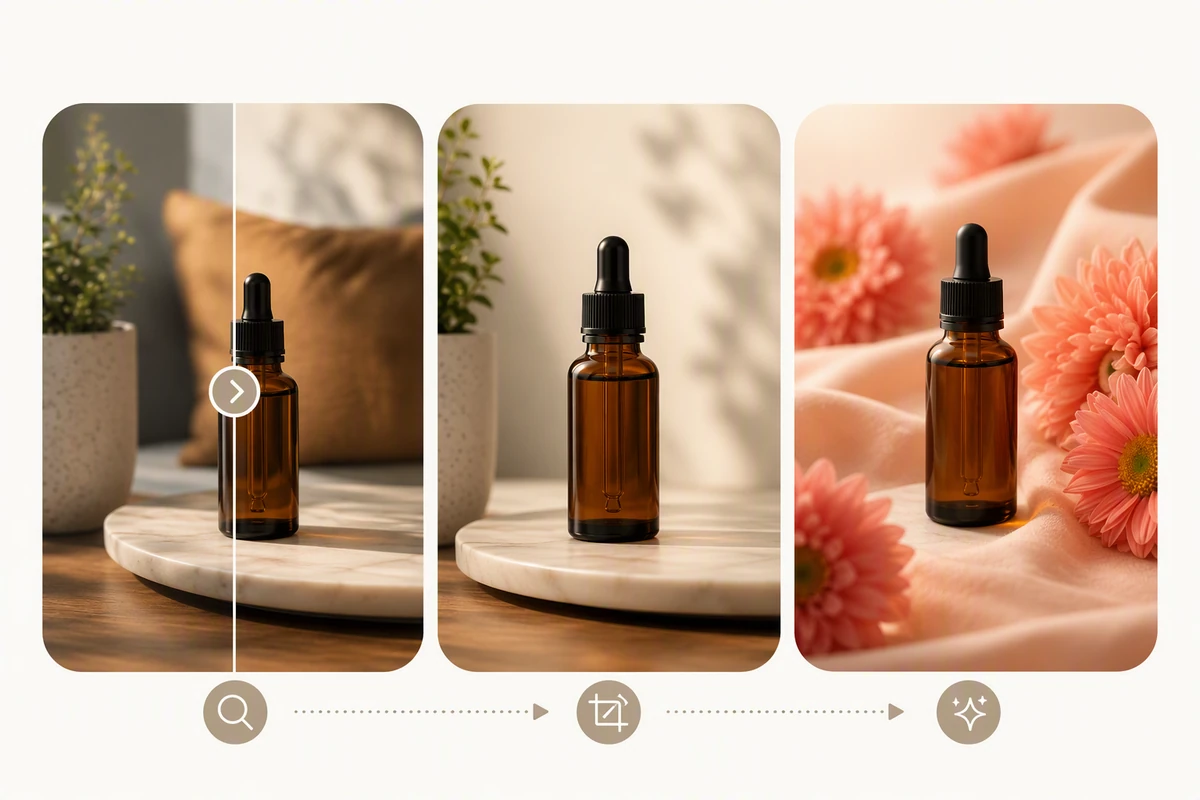
Illustrative amber dropper bottle shown in an indoor comparison, a closer crop, and a separate floral campaign scene.

Choose Between Clarity and a New Look

Decide whether your photo needs a general enhancement or a different creative direction. This bottle illustration shows both: a closer view of the existing subject, then a floral campaign setting. The enhancer's Strength control does not request new props or scenery. For a deliberate visual treatment, explore Image Effects as a separate task.

What you can do with Ottermind

Refresh a Profile Portrait

Try a restrained enhancement on a soft phone portrait before using it on a team page. Check whether eyes and hair look clearer while the expression still feels familiar. Reduce the strength if skin starts to look airbrushed.

Prepare a Café Photo for Social

Give a slightly flat photo of coffee and pastries an enhancement pass before posting. Judge the crumb texture and cup highlights at feed size. If color intensity is the remaining issue, use Image saturation for that separate adjustment.

Tidy Up a Rental Interior Shot

Review an indoor phone photo before adding it to a rental listing. Look at window edges, shaded corners and the wall finish together. Keep an enhancement only if the room looks clearer without making the materials or lighting misleading.

Refresh a Pet Adoption Photo

Try a gentle enhancement on an indoor shelter photo so a cat or dog is easier to see. Look for a natural coat texture and a familiar expression rather than an exaggerated glossy finish. Keep distinctive markings and the animal's actual appearance recognizable.

How to Use the Image Enhancer Online

Accepts JPEG, PNG and WebP up to 20 MB, with each side at most 4096 pixels. Export HEIC or RAW files to a supported format first.

1

Select Upload image and choose the photo you want to improve. Identify one concern, such as soft texture or distracting grain, so you have a clear aim for the first attempt. Sign in to process it.

2

Open Settings and start with Strength at 0.5. Keep Scale at 1× to focus on appearance, choose Format, review the required credits, then select Generate. No editing prompt is required.

3

Use Original, Result and Compare to review the change. Check a textured area and a smooth area; lower Strength and rerun the original if needed. Download the accepted result; downloading requires a paid plan.
Enhance Your Image

Why creators choose Ottermind

Fine Strength Adjustments

Move Strength in 0.05 steps when you want a smaller change between an underwhelming result and an overly strong treatment.

An Appearance-First Starting Point

The enhancer defaults to 1×, so your first decision can be about how the photo looks at its existing dimensions.

No Prompt Guesswork

Set the enhancement amount directly. You do not need to describe a new scene or guess which editing instructions will work.

Focused Alternatives Nearby

The category switch gives noise and lighting their own tools when another overall enhancement is not the right adjustment.

Fresh Attempts from the Source

Changing enhancement settings can start another attempt from your uploaded original, without making each pass build on the last.

Local Cleanup as a Next Step

For an isolated blemish, explore Photo Retouching instead of applying a stronger treatment to the whole photo.

Frequently asked questions

Is the image enhancer free to use?

Processing in this workbench requires signing in and sufficient credits. Check the displayed cost before generating; downloading AI-generated images requires a paid plan. Trying a different strength starts another generation, so review its cost too. This is not an unlimited free enhancement service.

Why can an enhanced photo look worse?

A stronger treatment may make grain, bright outlines or artificial-looking texture more noticeable. Lower Strength and make another attempt from the original. Compare at a normal viewing size as well as close up. If the photo already looks good, leaving it unchanged can be the better choice.

Will this give portraits a beauty-filter look?

It is an overall enhancement tool, not a dedicated skin-retouching mode. AI processing can still change facial appearance, so check the expression and natural skin texture before using a portrait. Try a lower strength if the treatment feels excessive. For an out-of-focus portrait, Fix Blurry Pictures addresses that more specific problem.

How is enhancement different from upscaling or HD conversion?

Enhancement focuses on the picture's appearance, such as clarity and texture. Upscaling focuses on increasing pixel dimensions. If you need to plan a specific display or print output, HD Photo Converter covers that workflow. You can begin enhancing here at 1× without requesting enlargement.

Can I adjust only the lighting or one part of the image?

This enhancement mode provides an overall Strength setting, not a local correction brush or a dedicated lighting control. Use the category switch for a more specific task, such as denoising, relighting or object removal. Choose the operation that addresses the visible problem instead of repeatedly increasing enhancement strength.

Does enhancement run entirely on my device?

No. Selecting a file prepares it in your browser, but generating an enhancement uploads the image and submits a processing job to the service. Browser access does not mean local-only processing. Use images you are comfortable submitting, and keep your own copy of the original.

Discover more

More from the blog

Give Your Photo a More Considered Enhancement

Choose a photo worth keeping, start with a restrained enhancement, and compare the result with your original. Keep the version that looks right for your purpose.

Enhance Your Image