Upload image

JPEG · PNG · WebP · 20 MB · 4096 × 4096 px

Settings
Private image
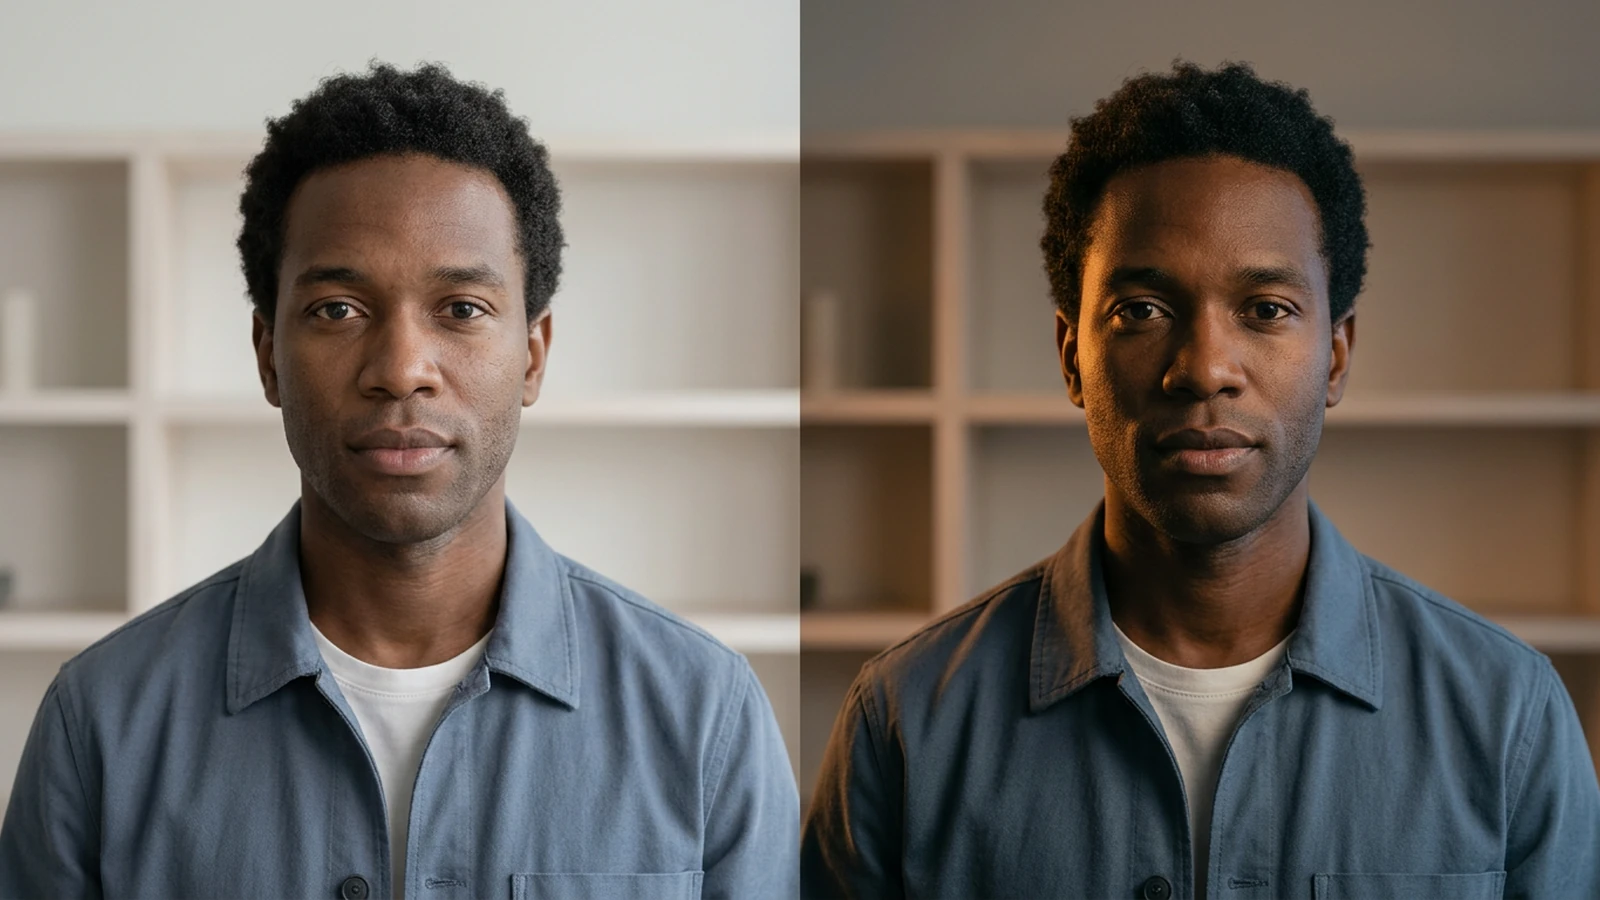
Illustrative comparison of a man in a slate overshirt under neutral light and warm directional light.

Give an existing photo a different light

AI image relighting explores how a photographed subject could look under different illumination. Change the apparent direction, shadow balance, or atmosphere while reviewing the original scene. For blemishes, stray hairs, and other local cleanup, use Photo Retouching. Here, the creative decision is how light falls across the picture.

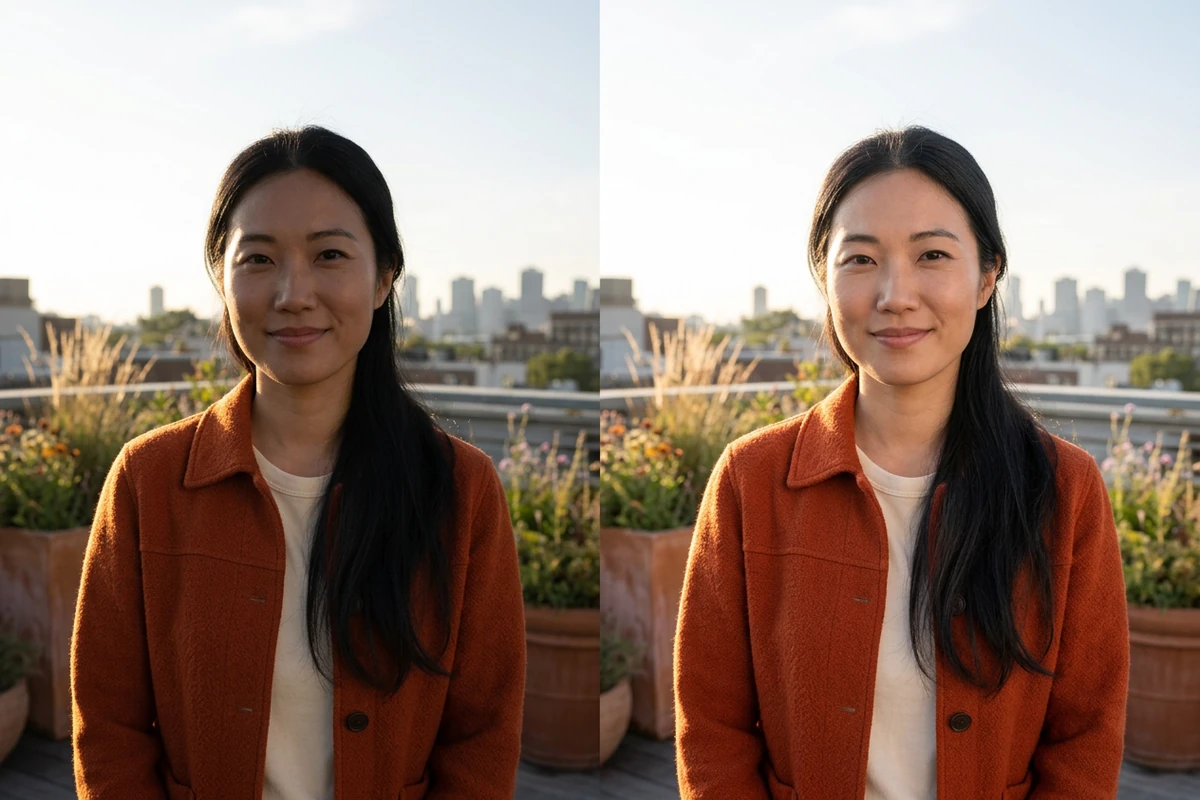
Illustrative rooftop portrait comparison showing soft fill light lifting shadows on a woman in a rust jacket.

Bring a face out of deep shadow

A bright background can leave an outdoor portrait difficult to read. Try natural lighting and a restrained strength, then check the face alongside the sky and surroundings. The illustrated comparison shows the intended balance: more readable facial features with enough shadow left to give the portrait shape.
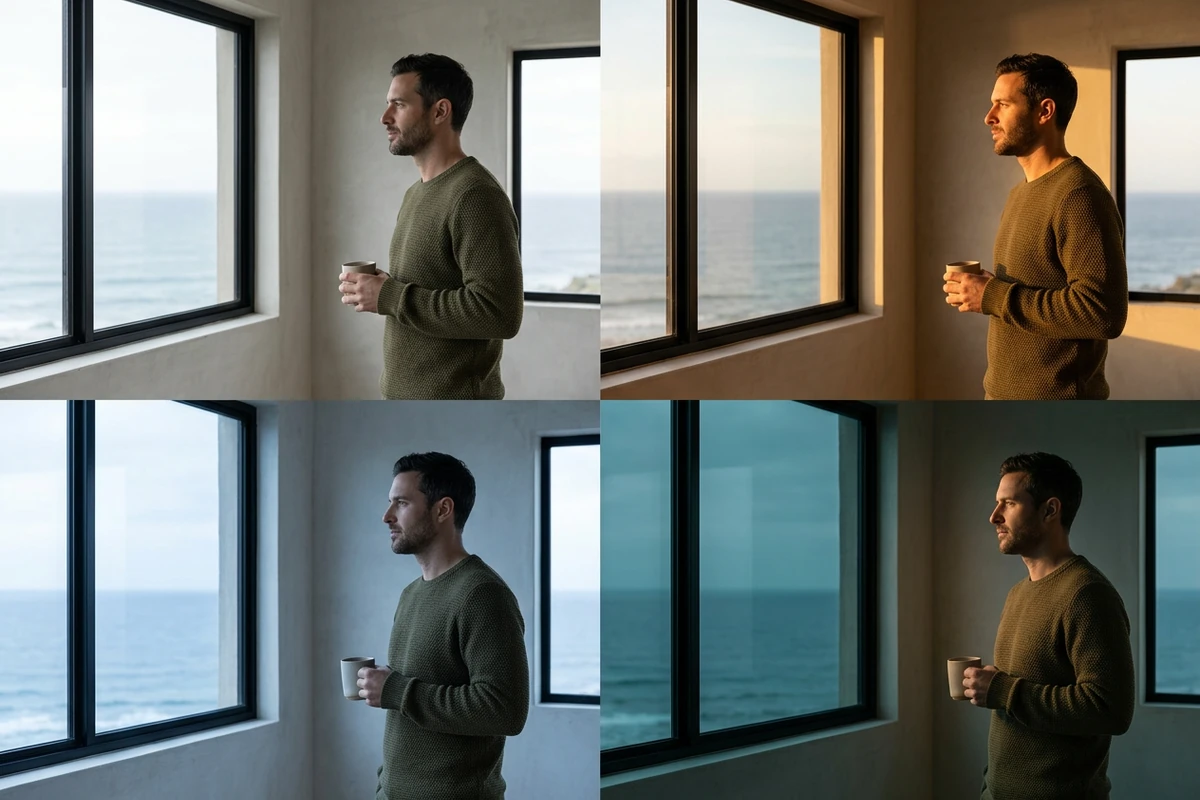
The same seaside loft portrait shown in neutral daylight, warm sunlight, cool light, and a moody teal setting.

Explore the mood before choosing a look

The same window-side scene can suggest a bright afternoon, a warm evening, or a cooler night. Use the available lighting styles to explore that direction, then compare the mood with your brief. The four-panel illustration presents lighting concepts. For color intensity alone, use Image saturation.

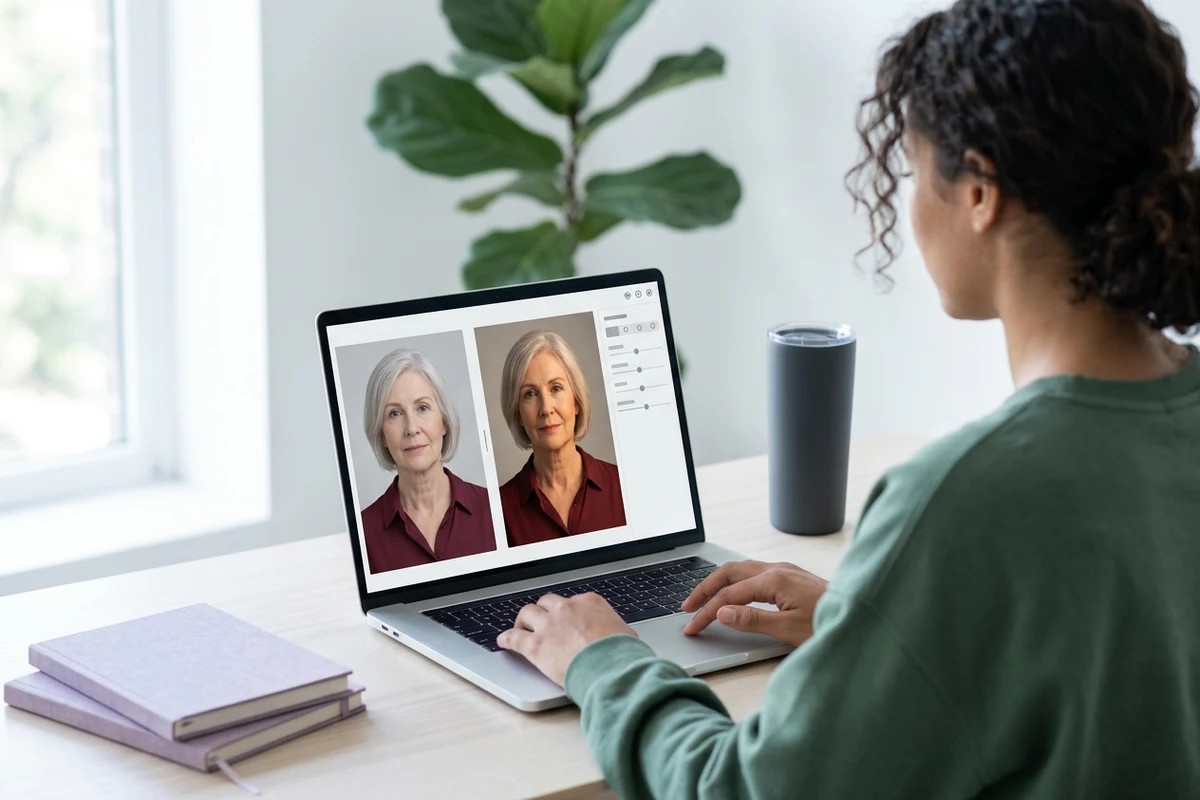
A woman at a laptop viewing two differently lit portraits in a fictional, unbranded photo-editing interface.

Change one setting, then compare the scene

Start with Natural, the direction closest to the source light, and a middle strength. Generate a result before changing another setting. If shadows feel too heavy, try a lower strength first; if the mood is wrong, change the style. Check facial shadows, hair highlights, and background light together. The editor scene illustrates this review process.

What you can do with Ottermind

Rebalance an outdoor profile photo

Work with a portrait taken against a bright garden or skyline. Explore gentler illumination on the face while keeping the outdoor setting believable. Compare the eyes, cheek shadows, and hairline before choosing a version for your profile.

Plan a product campaign look

Use an existing bottle, bag, or accessory photograph to explore studio or sunset lighting. Check that highlights suit the material and that the product still sits naturally on its surface. Keep labels and product colors accurate when selecting a campaign image.

Compare moods for an interior

Try different lighting treatments on a room photograph to discuss a daytime or evening visual direction. Review the windows, reflective surfaces, and corners together. Treat the image as a mood study, rather than a prediction of how a real fixture will illuminate the room.

Set the tone of a cover portrait

Explore directional light for a musician's cover image or a creator's editorial portrait. Choose the lighting mood before adding a broader treatment with Image Effects. Review recognizability and shadow detail at the size the cover will appear.

How to relight a photo with Ottermind

Choose a source, explore a lighting setup, and judge the result against the photograph you started with.

1

Choose a photo with visible facial or product detail. Note where the strongest light comes from and which shadows you want to change before adjusting the settings.

2

Select a direction and Natural, Studio, Sunset, or Moonlight style. Start near the middle of the strength range, review the displayed generation requirements, and generate a result.

3

Compare the source and result for shadow direction, highlights, and recognizable details. Adjust one setting if needed. Download a version that fits your brief, following any account notice shown.

Relight your photo

Why creators choose Ottermind

Make a deliberate lighting choice with settings you can revisit and a source image you can compare against.

Direction choices

Choose front, back, left, right, top, or bottom light as the starting direction for your edit.

Named lighting styles

Natural, Studio, Sunset, and Moonlight give you concrete starting points when deciding on a lighting mood.

Adjustable strength

Vary the strength rather than committing immediately to the most pronounced lighting treatment.

A source to revisit

Keep the original photograph as your reference for identity, composition, materials, and important scene details.

A separate size decision

After choosing the light, use AI Image Upscaler for a separate enlargement task.

A focused creative brief

Decide whether the goal is readable shadows, directional drama, or a different atmosphere before generating.

Frequently asked questions

How is relighting different from increasing brightness?

A brightness adjustment changes how light or dark the image appears. Relighting explores a different lighting treatment, including apparent direction and shadow balance. If the source already has the right light and only needs a small exposure correction, a basic photo adjustment may be enough.

Can relighting restore detail in blown-out highlights?

It cannot establish detail that the source no longer contains. A generated result may fill a bright or dark region with a plausible interpretation. Use a better-exposed original when accurate facial, material, or product detail matters, and inspect any newly visible texture.

Will my subject and background stay exactly the same?

Do not assume exact preservation. Compare the result with the original for changes to faces, lettering, edges, and materials as well as light. If the remaining task is local cosmetic cleanup, handle it separately with Photo Retouching.

Do I need to write a relighting prompt?

The relight workbench uses direction, style, and strength controls instead of a free-text prompt. Choose those settings to express the look you want. Keep the direction fixed while comparing strengths, then try another style if the atmosphere still needs to change.

Which photos should I upload for relighting?

Use a clear JPEG, PNG, or WebP with enough detail to judge the result. Avoid starting from a tiny thumbnail or a heavily compressed copy. Follow the uploader's current size and dimension checks; keep your best original available for comparison.

Is generating and downloading a relit image free?

Check the requirements displayed in the workbench for your account and current edit. Generation may require signing in and available credits, while downloading can depend on your plan. Review those notices before continuing rather than assuming unlimited free edits or downloads.

Discover more

More from the blog

Find the light that fits your photo

Bring an existing photograph, choose a lighting direction and style, and compare the result with your source before deciding which version to use.

Relight your photo